How to Make a Wedding Seating Chart: A Step-by-Step Guide
The seating chart is the last big wedding task, and it is the one couples dread the most. It doesn't have to take a weekend and three arguments. Here is the method wedding planners use, step by step.
Step 1: Wait for (almost) all your RSVPs
Don't start seating people who haven't confirmed. Set your RSVP deadline four to six weeks before the wedding, then chase the late responders during the following week. Start the chart when you have at least 90% of your answers.
Step 2: Get the floor plan from your venue
Ask your venue or planner for the room layout with table sizes and positions. You need to know:
- how many tables fit, and at what size (60-inch rounds, 8-foot banquet tables…)
- where the dance floor, bar, buffet, DJ and exits are
- which tables are close to the speakers (not for grandma)
Not sure how many guests fit per table? Our guide to how many guests fit at a wedding table gives you every size.
Step 3: Sort your guests into groups
Before thinking about tables, think about groups. Go through your list and tag everyone: his family, her family, college friends, work friends, childhood friends, neighbors, plus-ones. Most guests belong naturally to one group, and each group becomes the core of one or two tables.
Step 4: Place the VIPs first
Start with the tables that matter most, because they are the hardest to change later:
- Your own seat: a sweetheart table or a head table.
- Both sets of parents, and grandparents, close to you and away from the speakers.
- The wedding party, if they don't sit at the head table.
If your parents are divorced, read how to seat divorced parents before you go further.
Step 5: Fill the tables group by group
Now place each group at its table. A group that is too big splits into two neighboring tables. A group that is too small merges with another one that has something in common: same age, same city, same sense of humor.
The golden rule: every guest should know at least one or two people at their table. Nobody should be the only stranger.
Step 6: Add the constraints
Now go through the list of "musts" and "must-nots":
- couples and families always sit together
- exes, feuding relatives and anyone who "can't stand" someone sit apart
- elderly guests away from speakers, near the exit and restrooms
- guests with small kids near the door for quick escapes
- dietary restrictions, flagged per table for your caterer
Step 7: Review it with fresh eyes
Walk through the chart table by table and ask one question: "Will these people have a good evening together?" Then show it to one person you trust (a parent, your planner, your maid of honor) who knows the families.
Step 8: Send the final version to your vendors
About one week before the wedding, send the final chart to:
- your caterer: guest count per table, and meal choices or allergies by table number
- your venue or planner: the floor plan with table numbers
- your stationer: the alphabetical guest list with table numbers, for escort cards or the seating display
Paper, spreadsheet or software?
Sticky notes on a poster board work for 50 guests. A spreadsheet works until someone cancels and you have to reshuffle three tables. Past about 80 guests, a dedicated tool saves hours, mostly because every change stops being a chain reaction.
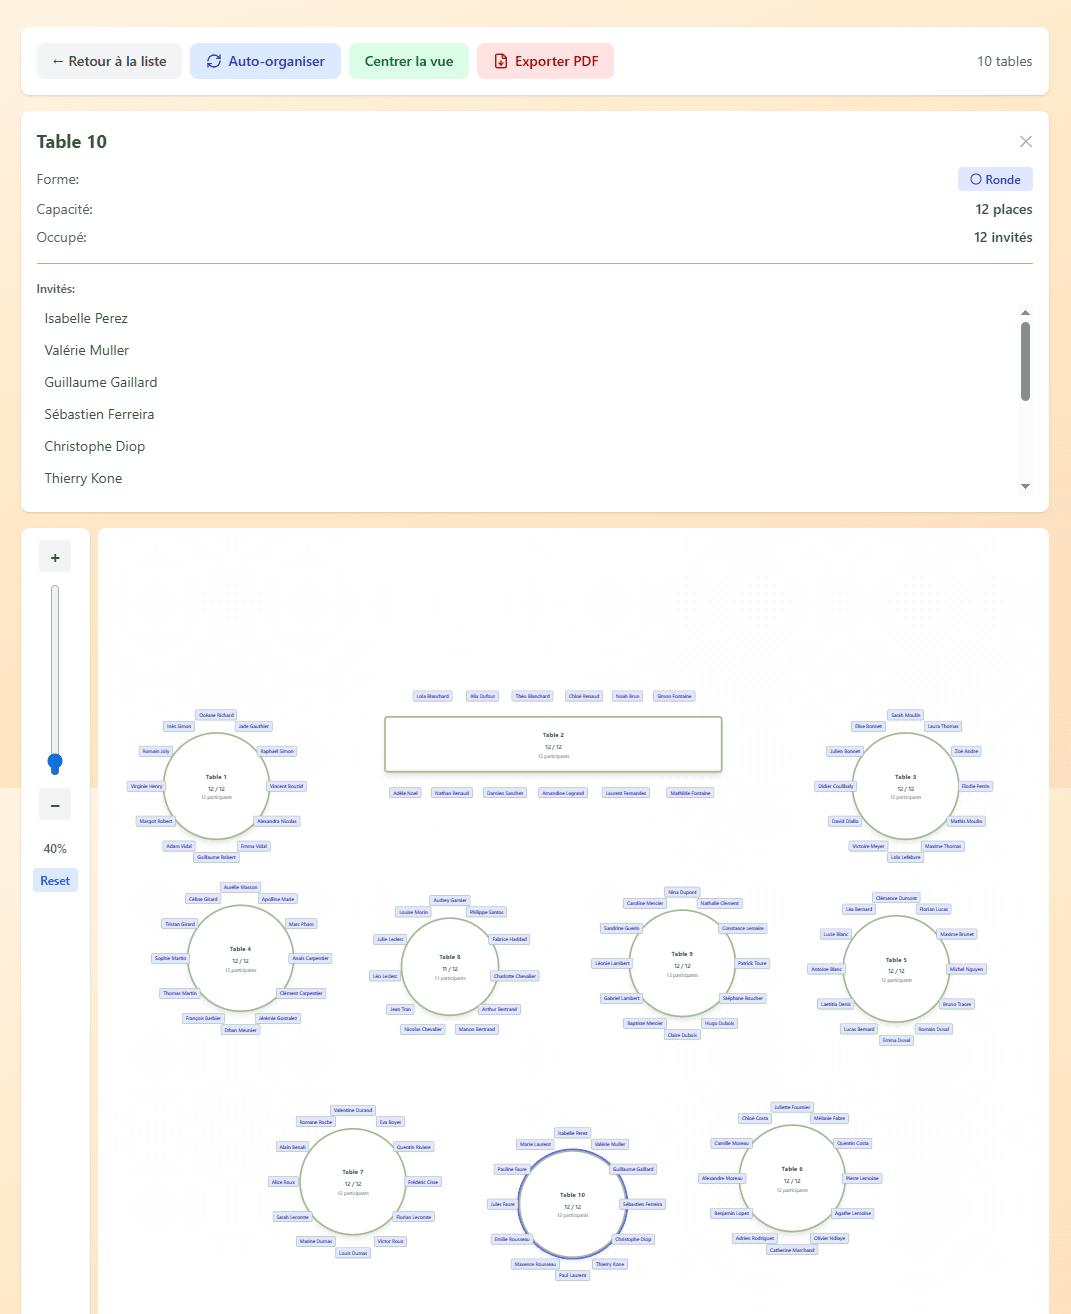
Tabbl builds a first seating chart in seconds from your guest list: it keeps groups together, respects your "together" and "apart" rules and each table's capacity. You then adjust by drag and drop, and export the alphabetical list and place cards when you are done.
Ready to make your seating chart?
Tabbl builds your seating chart in seconds with AI
Try Tabbl for free